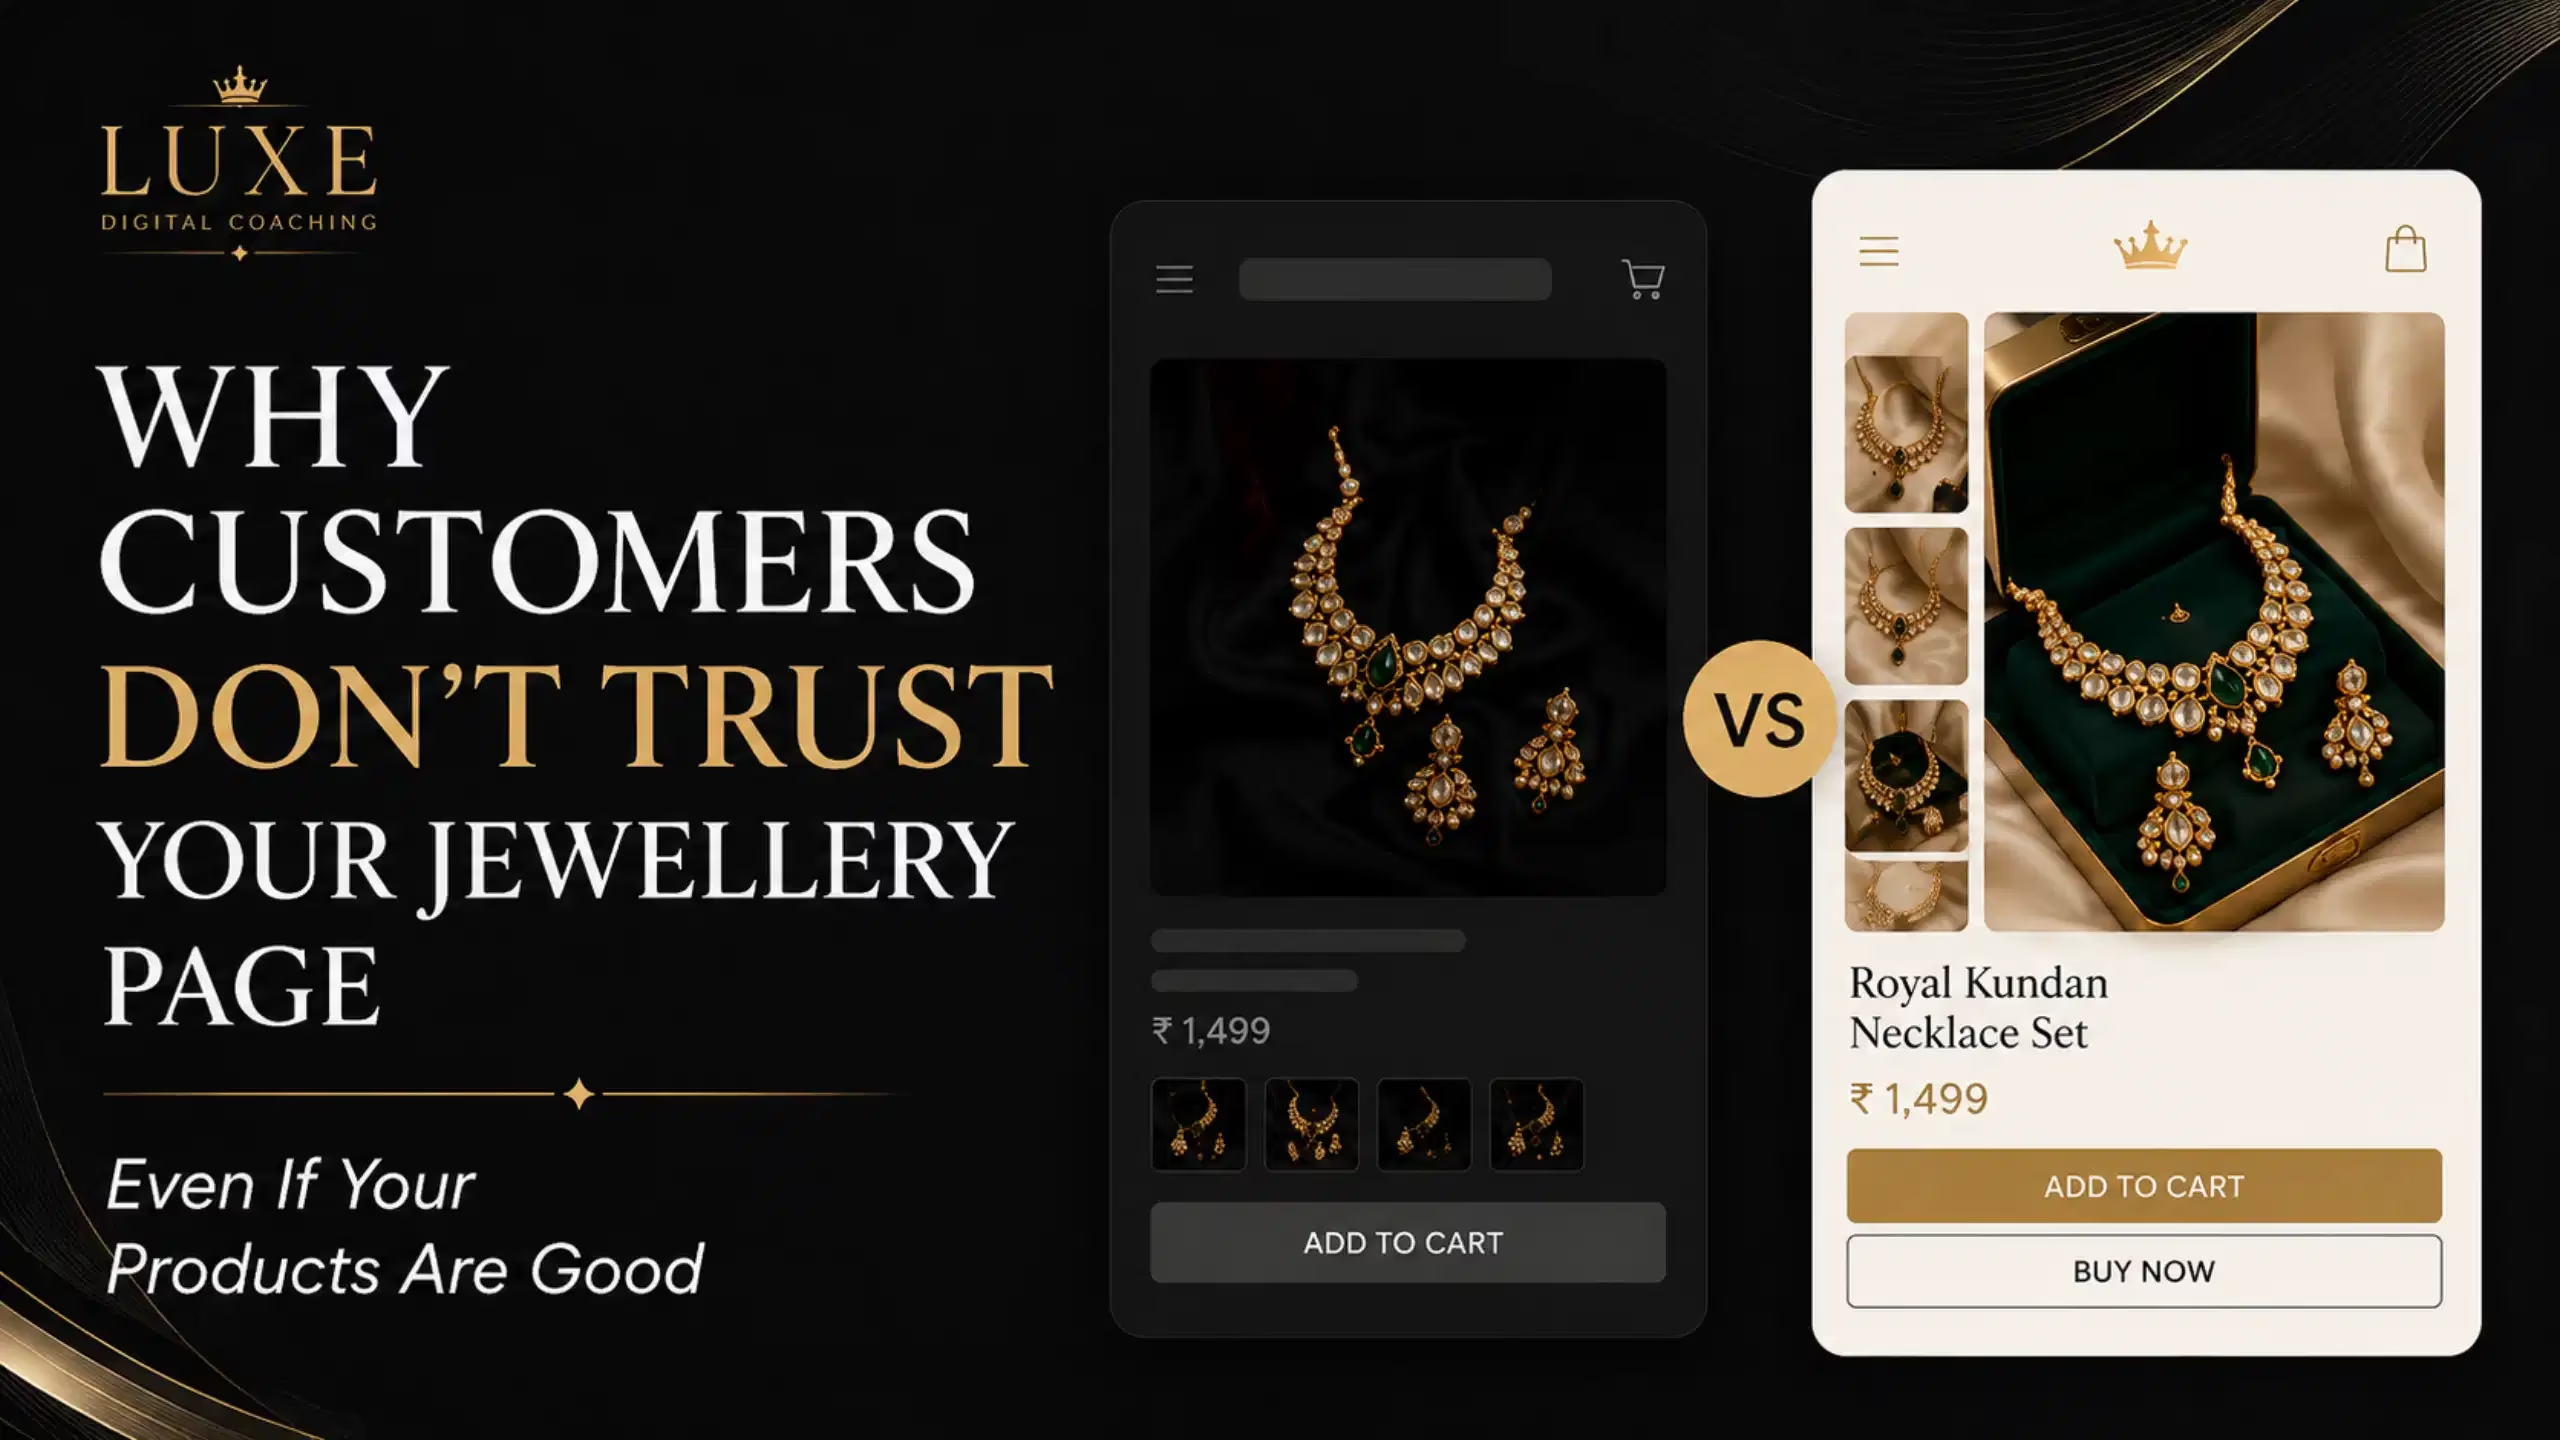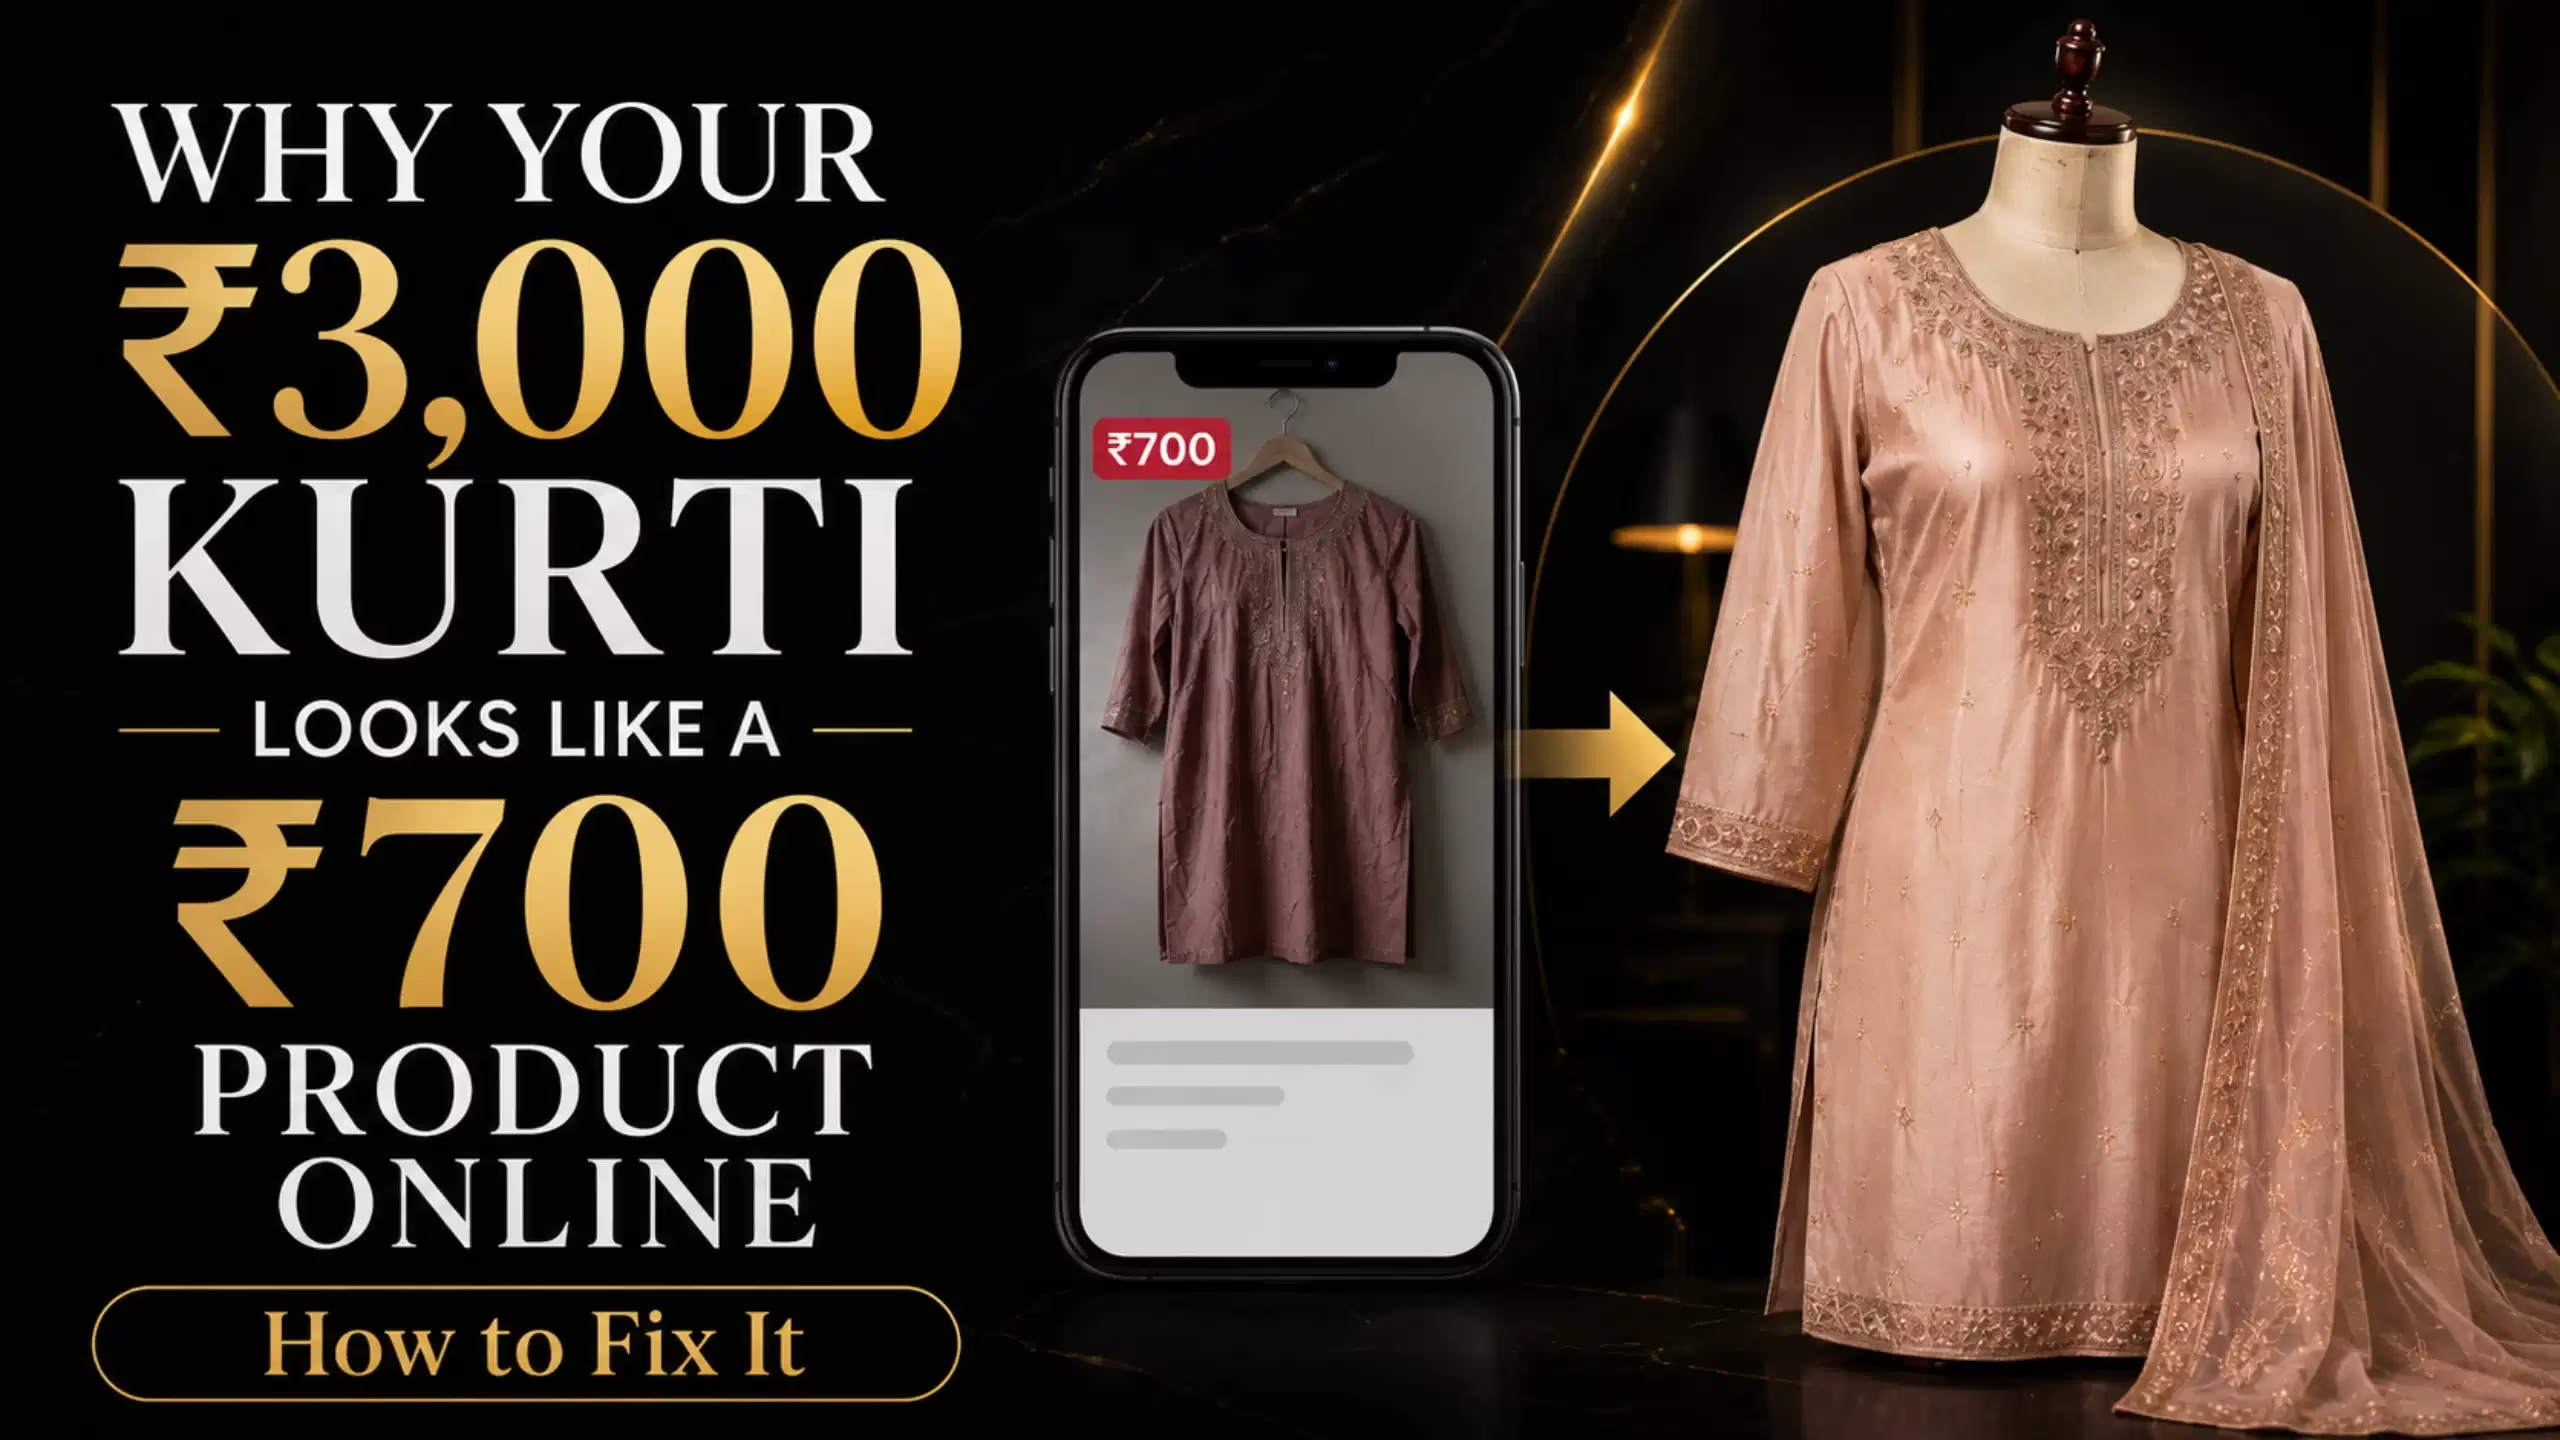
You’ve invested in premium fabrics, intricate embroidery, and beautiful designs for your kurti collection. However, when you upload photos to your online store, they look flat, cheap, and fail to attract buyers. This disconnect between quality and presentation costs boutique owners thousands in lost sales every month. The problem isn’t your product—it’s how you’re presenting it online.
The solution lies in mastering product photography and presentation techniques that showcase the true value of your ethnic wear. By fixing lighting, styling, background selection, and photo composition, you can transform how customers perceive your kurtis online. This guide walks you through every step to ensure your ₹3,000 kurti photographs like the premium product it is, building trust and driving conversions for your boutique business.
Why Premium Kurtis Look Cheap Online
Understanding the problem is crucial before implementing solutions. Most boutique owners photograph their ethnic wear in poor lighting conditions, often using overhead fluorescent lights or direct sunlight. These harsh light sources create unflattering shadows that hide embroidery details and distort fabric colors. Consequently, customers cannot see the craftsmanship that justifies your pricing.
Another common mistake involves cluttered backgrounds that distract from the product itself. When a beautiful kurti is photographed against a messy bedroom wall or busy patterned backdrop, the customer’s eye doesn’t know where to focus. Additionally, wrinkled fabrics, improper styling, and amateur camera angles further diminish perceived value. These presentation flaws trigger price objections and abandoned carts, even when your products are genuinely superior.
The marketplace is increasingly visual, particularly for fashion products. According to research on e-commerce behavior, online shopping decisions rely heavily on product imagery since customers cannot physically touch or try items. Therefore, your photos must work harder than in-store displays to communicate quality, texture, fit, and value. This makes professional presentation techniques non-negotiable for successful online ethnic wear sales.
Step 1: Master Your Lighting Setup
Proper lighting transforms product photography more than any other single factor. Natural diffused light produces the most accurate color representation and flattering shadows. Position your kurti near a large window during daytime hours, but avoid direct sunlight streaming through. Instead, use sheer white curtains to diffuse the light, creating a soft, even illumination that reveals fabric texture without harsh contrasts.
If natural light isn’t available, invest in affordable softbox lights or LED panels with adjustable color temperature. Position one main light at a 45-degree angle to your product, and use a white reflector or foam board on the opposite side to bounce light back and fill shadows. This creates dimensional lighting that showcases embroidery depth and fabric drape naturally. Moreover, maintain consistent color temperature (around 5500K for daylight balance) across all photos to ensure your entire collection has a cohesive look.
Lighting Configuration Checklist
- Place your primary light source to the side, never directly overhead or behind the camera
- Use reflectors to soften shadows and create even illumination
- Test different times of day to find your best natural light window
- Avoid mixed lighting (don’t combine window light with yellow room lights)
- Photograph in RAW format when possible for maximum editing flexibility
Step 2: Choose the Right Background
Your background should complement, not compete with, your ethnic wear. Clean, neutral backgrounds in white, light gray, or subtle beige work best for most kurtis. These colors provide contrast without distraction, allowing the garment’s colors and details to stand out. Furthermore, neutral backgrounds meet marketplace requirements for platforms like Amazon and Flipkart, which often mandate white backgrounds for primary product images.
Purchase a roll of seamless paper backdrop (available at photography supply stores) or use a large white bedsheet stretched taut across a wall. The seamless transition from wall to floor creates a professional studio look without visible corners or edges. For lifestyle shots that show context, choose simple interior settings—a plain wall with wooden flooring or a minimalist chair can add warmth without overwhelming the product. Similar principles apply across fashion categories, as outlined in our guide on effective digital marketing for fashion boutiques.
Background Options for Different Photo Types
- White seamless: Primary marketplace photos and catalog images
- Light gray: Adds subtle dimension while remaining neutral
- Textured fabric: Provides visual interest for social media posts
- Lifestyle settings: Shows context and styling inspiration for secondary images
Step 3: Style Your Kurti for Maximum Appeal
Presentation details separate professional product photos from amateur snapshots. Always steam or iron your kurtis before photography sessions—wrinkles immediately signal low quality regardless of actual craftsmanship. Pay special attention to sleeves, hemlines, and collar areas where fabric tends to bunch. Additionally, use fabric clips or pins (hidden from camera view) to create ideal fit and drape on your mannequin or model.
Display kurtis on dress forms or live models rather than flat lays when possible. Three-dimensional presentation helps customers visualize fit and proportion better than flat garments. If using mannequins, ensure they’re the appropriate size for your garment to avoid awkward pulling or excess fabric. For model shoots, select individuals whose styling doesn’t overpower the product—minimal jewelry, neutral makeup, and simple hairstyles keep focus on the ethnic wear itself.
Styling Enhancement Techniques
- Steam the entire garment, including inner linings and hard-to-reach areas
- Adjust mannequin or model fit with hidden pins for ideal silhouette
- Add minimal complementary accessories that enhance without distracting
- Ensure proper length display—show where hemlines fall naturally
- Style sleeves and necklines to reveal design details clearly
Step 4: Use Professional Camera Angles and Composition
Camera positioning dramatically affects how customers perceive garment quality and value. Shoot from eye level or slightly above, never from below which distorts proportions. Position your camera approximately 8-10 feet away and zoom in rather than shooting close-up—this minimizes lens distortion that makes products look warped. Center your product in the frame with equal spacing on all sides, following the rule of thirds for lifestyle shots.
Capture multiple angles in every photo set. Start with a straight-on front view showing the complete garment, then photograph back, side, and three-quarter views. These comprehensive angles help customers understand construction and design from all perspectives, reducing return rates significantly. Moreover, maintain consistent framing across your catalog—products should occupy roughly the same portion of the frame for professional, cohesive presentation.
Modern smartphone cameras can produce excellent results when used correctly. However, avoid using digital zoom which degrades image quality. Instead, physically move closer or farther to frame your shot. Turn on grid lines in your camera settings to maintain straight horizons and centered compositions. These professional techniques mirror strategies used across industries, similar to how businesses implement e-commerce digital marketing strategies to enhance online presence.
Essential Angles for Complete Product Coverage
- Front view: Main image showing complete design and silhouette
- Back view: Reveals back design, closures, and overall length
- Side view: Shows fit, drape, and profile silhouette
- Three-quarter angle: Dynamic view combining front and side elements
Step 5: Capture Detail Shots That Build Trust
Close-up detail photographs justify premium pricing by showcasing craftsmanship customers cannot see in full-length shots. Photograph embroidery work, beading, fabric texture, print details, and stitching quality in sharp focus. These images prove your claims about quality and help customers understand what they’re paying for. In practice, boutiques with comprehensive detail shots experience fewer quality-related questions and returns.
Use macro mode or move closer to capture texture and embellishment details. Ensure these shots remain in sharp focus—blurry detail photos undermine credibility rather than building it. Include shots of labels, fabric tags, and care instructions as well. These elements signal authenticity and professionalism, particularly important when building trust with new customers who haven’t purchased from your boutique before.
Critical Details to Photograph
- Embroidery or embellishment close-ups showing thread quality and technique
- Fabric weave and texture revealing material quality
- Print patterns demonstrating design intricacy and color accuracy
- Stitching and finishing showing construction quality
- Buttons, closures, and functional details
- Brand labels and care tags confirming authenticity
Step 6: Edit Photos to Enhance Without Deceiving
Post-processing polishes your product photography without misrepresenting your products. Basic adjustments include cropping for composition, straightening horizons, and removing minor distractions like dust or loose threads. Adjust exposure and contrast to match what the product looks like in person—your goal is accurate representation, not artistic interpretation. Color correction ensures online photos match the actual fabric colors customers will receive.
Use editing software like Adobe Lightroom, Photoshop, or free alternatives like GIMP and Snapseed. Start with white balance correction to neutralize any color casts from lighting. Then adjust exposure, highlights, and shadows to reveal details throughout the tonal range. Increase sharpness slightly to compensate for screen viewing, but avoid over-sharpening which creates unnatural halos around edges. Finally, resize images to platform requirements while maintaining quality—typically 1500-2000 pixels on the longest side for most marketplaces.
Never dramatically alter colors, add false details, or manipulate images to make products appear different than reality. This practice leads to returns, negative reviews, and damaged reputation. Honest, accurate photography builds long-term customer relationships and repeat business—far more valuable than short-term conversions from deceptive images. Building this trust parallels broader business strategies discussed in resources about B2C business growth.
Essential Editing Adjustments
- White balance correction for accurate color representation
- Exposure adjustment to reveal details in highlights and shadows
- Minor cropping and straightening for professional composition
- Selective sharpening to enhance clarity without creating artifacts
- Background cleanup removing distracting elements
- Consistent color grading across your entire product catalog
Step 7: Optimize Photos for Different Platforms
Each selling platform has specific image requirements and best practices. Marketplaces like Amazon and Myntra require white background primary images at minimum 1000 pixels, while Instagram favors square crops and lifestyle styling. Understanding these specifications ensures your photos display properly and meet platform guidelines. Moreover, optimized images load faster, improving user experience and search ranking on marketplace platforms.
Create platform-specific versions of your product photos rather than using identical images everywhere. For Instagram, crop to square format and enhance colors slightly for mobile screen viewing. For marketplace listings, maintain white backgrounds and include size reference elements. On your own website, you have more creative freedom—use lifestyle images, multiple angles, and detailed zoom functionality to create immersive shopping experiences that marketplace restrictions don’t allow.
Organize your photo files systematically with clear naming conventions including SKU numbers, view type, and platform designation. This organization saves hours when updating listings or expanding to new selling channels. Additionally, maintain master files at high resolution for future use, even if current platforms require smaller sizes. Technology advances and platform requirements change, so future-proofing your image library protects your photography investment. Many successful boutique owners apply similar systematic approaches highlighted in business transformation programs.
Platform-Specific Image Guidelines
- Amazon/Flipkart: White background, 1000+ pixels, all angles including zoom-worthy details
- Instagram: Square or 4:5 ratio, lifestyle styling, color-optimized for mobile screens
- Facebook Marketplace: Clear primary image, accurate colors, multiple angles
- Your Website: High resolution with zoom functionality, comprehensive angle coverage, lifestyle contexts
- Pinterest: Vertical orientation (2:3 ratio), styled shots with context and inspiration
Building Your Online Boutique Success Through Better Presentation
Transforming how your kurtis appear online doesn’t require expensive equipment or professional photography training. However, it does demand attention to fundamental principles—proper lighting, clean backgrounds, careful styling, strategic angles, detailed close-ups, honest editing, and platform optimization. Implementing these seven steps systematically elevates your entire product catalog from amateur snapshots to professional presentation worthy of premium pricing.
Start by photographing just five kurtis using this complete process. Compare these new images to your previous photos and observe the difference in perceived quality and value. As you develop this workflow, photography becomes faster while results remain consistently professional. Remember that product presentation directly impacts conversion rates, return rates, and customer satisfaction—making this investment of time and attention one of the highest-return activities for your online ethnic wear business.
The gap between your product quality and its online presentation represents lost revenue and missed opportunities. Therefore, close this gap immediately by implementing these photography and presentation techniques. Your beautifully crafted ₹3,000 kurtis deserve images that reflect their true value, attract ideal customers, and build the thriving online boutique business you’ve worked hard to create.